Expert Guide: Installing and Optimizing Your Architainment LED Fixtures for Maximum Impact
Share
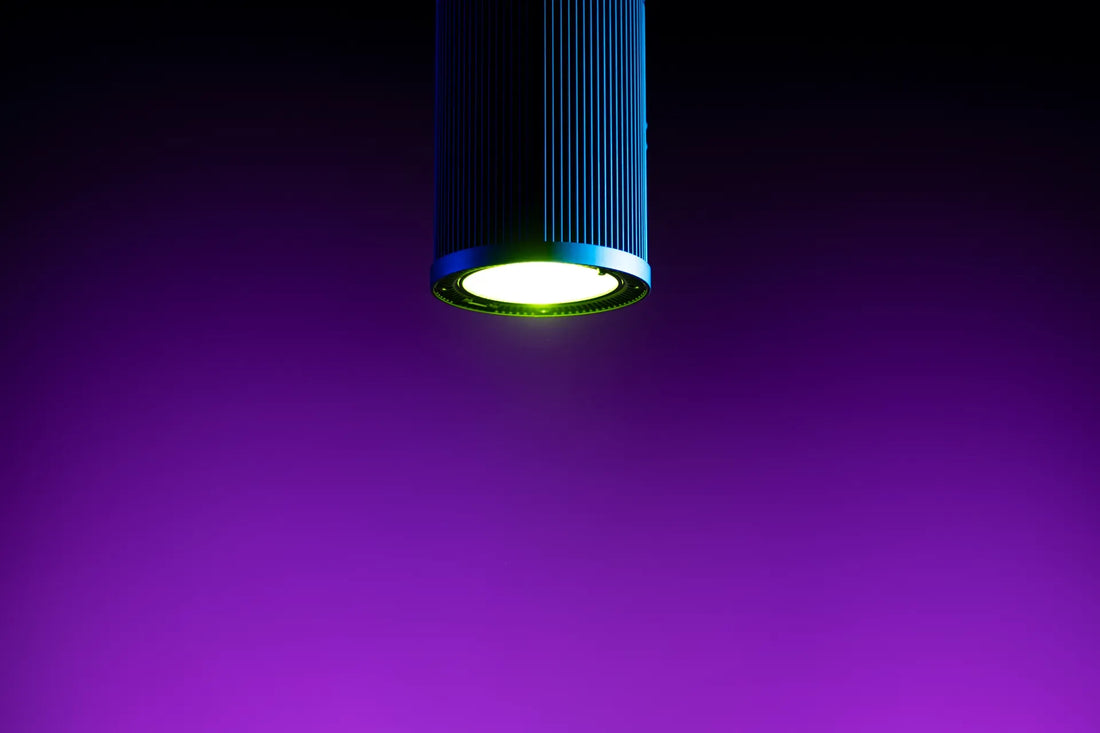
The world of event and architectural lighting has been revolutionized by Architainment LED fixtures. These powerful tools blend architectural precision with entertainment flair, capable of transforming any venue—from a museum, corporate office, wedding hall to a concert stage—into an immersive visual experience. However, the journey from unboxing your new fixtures to achieving a jaw-dropping light show requires careful planning and execution.
Simply owning high-quality LED light fixtures isn't enough. Proper installation and optimization are what separate amateur setups from professional, impactful displays. This guide draws on industry best practices to ensure you maximize the return on your investment and unleash the full creative potential of your lighting.
Phase 1: Strategic Pre-Installation Planning
Before you mount a single fixture, success is determined in the planning stage. Rushing this phase leads to safety hazards, technical glitches, and a limited final result.
- 1. Define Your Creative Goal: What is the desired atmosphere? Are you highlighting architectural features, spot lighting art, creating dynamic washes of color for a dance floor, or providing key light for a stage? Your goal dictates fixture placement, type, and quantity.
- 2. Map Your Layout: Create a simple diagram of your space. Decide where each fixture will be placed for maximum effect. Consider sightlines, potential obstacles, and the intended audience sight angles. This will inform cable lengths and power requirements.
- 3. Inventory and Inspect: Unbox all your Architainment fixtures and inspect them for any shipping damage. Ensure you have all necessary components: fixtures, power cables, data (DMX) cables, mounting brackets, and safety cables. Using reputable brands like Blizzard Lighting ensures quality and reliability straight out of the box.
Phase 2: Professional Installation Best Practices
A secure and safe installation is non-negotiable. The goal is to protect your equipment, your venue, and your audience.
- 1. Safety First: Always Use Safety Cables: Regardless of the primary mounting method—whether it's a U-bracket, truss clamp, or floor base—always loop a certified safety cable through the fixture's dedicated eyelet and around a secure structural point. This is your critical backup in case the primary mount fails.
- 2. Secure Mounting: Ensure all mounting hardware is tightened securely. For truss or overhead mounting, use high quality / load rating tested lighting clamps. For ground-based LED stage lighting, use sturdy bases and consider sandbags for added stability to prevent tipping.
- 3. Power Distribution: Avoid daisy-chaining multiple powerful fixtures into a single wall outlet. Use dedicated circuits where possible to prevent overloading and potential fire hazards. For larger setups, invest in a professional power distribution unit (PDU) or rack.
-
4. Data (DMX) Chain Management: Architainment LED fixtures typically use DMX protocol for control.
-
Run your data cable from your lighting controller to the first fixture's "DMX IN."
-
From that fixture's "DMX OUT," run a cable to the "DMX IN" of the next fixture, creating a chain (or "daisy chain").
-
Always use high quality DMX cable, not microphone cable, as DMX cable is specifically intended for data transmission. Blizzard DMX cable offers reliable transfer through its data-specific design, and wire that is wrapped 5x tighter than XLR microphone cable. It also offers double shield (foil and braid) and a durable PVC jacket that remains flexible in hot or cold temperatures.
-
Terminate the chain by placing a DMX terminator (a 120-ohm resistor) in the "DMX OUT" of the last fixture. This absorbs signal reflections and ensures stable communication.
-
Phase 3: Optimization for Maximum Creative Impact
With fixtures securely installed, it's time to make them sing. This is where you move from simple illumination to true artistry.
- 1. Addressing and Grouping: Each fixture in a DMX chain needs a unique address—a number that tells it which data to listen to. Set addresses via the fixture's menu or DIP switches. Group fixtures that you want to control together (e.g., all uplights on the left wall) by giving them the same address or configuring them properly in your software.
-
2. Controller and Software Mastery: Whether you're using a simple hardware controller or advanced software like LightJams or MadMapper, take the time to learn its features. Explore functions like:
-
Pixel Mapping: For advanced architainment lighting, this allows you to treat individual LEDs within a fixture as pixels, enabling you to send video content or complex patterns across them.
-
Presets and Scenes: Save color palettes, movement patterns, and intensity levels into presets. Chain these presets into scenes to build dynamic, automated shows.
-
Effects Engines: Use built-in macros and effects to create chases, fades, and patterns without needing to program every step manually.
-
-
3. Calibration and Fine-Tuning: Aim your fixtures precisely. Adjust pan and tilt to ensure the light hits exactly where you want it. Take time to color-calibrate different fixture models if they are used together to ensure a uniform white and color temperature.
Invest in Quality from the Start
The entire process—from a stable installation to breathtaking optimization—is infinitely smoother when you start with professionally engineered equipment. High-quality Architainment LED fixtures from leading brands are designed for reliability, offer robust software support, and produce the superior light output that makes your efforts worthwhile.
Ready to build your own stunning installation? The foundation of any great project is exceptional equipment.
Explore our curated selection of professional-grade fixtures, including industry-leading options from Blizzard Lighting, in our comprehensive Architainment LED Fixtures Collection.
Find the perfect tools to bring your vision to life.